All about E-bikes
Bike hand signals every delivery rider should know
Jun 17, 24
Most e-bikes don’t have blinkers or stop lights, so bike hand signals are the only way in which you can communicate with other participants in traffic.
Everyone knows that in many states, including New York, you are obliged by law to wear a protective helmet if you are commercial driver.
What they don’t realize is that there are many other rules and regulations they must follow. Using proper hand signals is one of them.
Bikers all across the United States are required by law to use these signals to let others know about their next moves - although these laws are rarely enforced.
Not only that but using bike hand signals can help you stay safe on the road.
Below, you’ll learn what are the bike hand signals and the six most important ones.

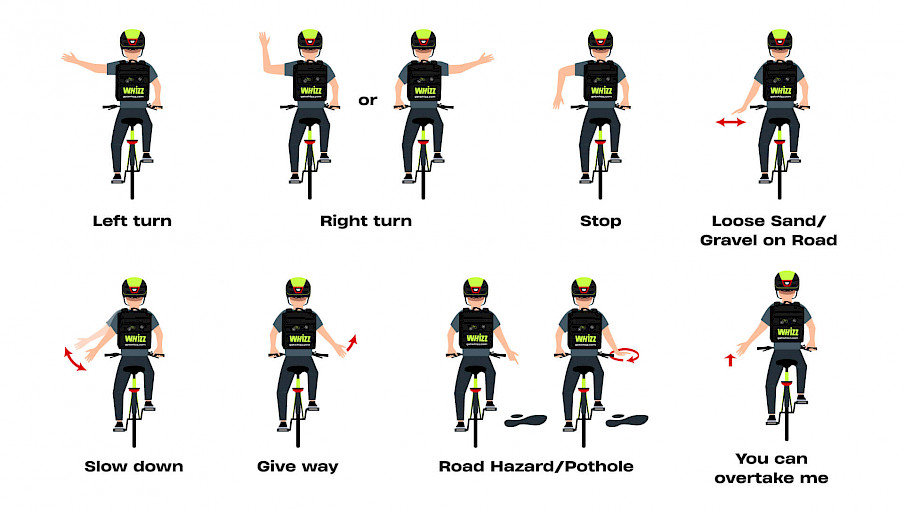
Bike hand signals are the main way in which you can inform other traffic participants about your next moves.
According to the National Center for Health Statistics, there were 1230 bicyclist deaths in 2021. 966 of these were due to crashes with other vehicles.[2]
Many of them could’ve been prevented by using proper hand signalization.
So, what are some essential bike signals on the road all bicyclists should know, regardless of whether they’re riding standard or e-bikes?
1. Turn Left

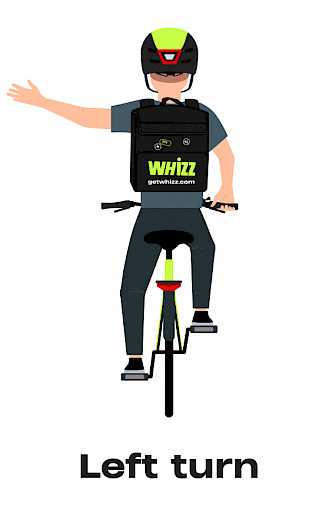
The first bike hand signal you need to learn indicates a left turn, and it’s used instead of a left blinker.
Stretch your left arm fully to the side. This is a clear signal everyone will understand, even those who aren’t familiar with bicycles.
Just remember that you should do this left turn hand signal bike about 100 feet before turning.
This will not only allow everyone to understand your intentions on time, but also allow you to reposition your hands before you make a turn.
2. Turn Right
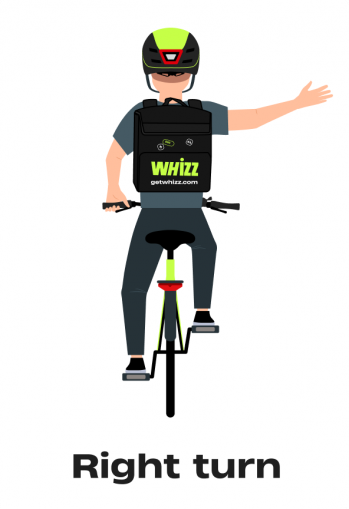

The most common way to signal you’re about to turn right is to simply fully stretch your right arm to the side - just as you would do for the left turn.
If you cannot take your right hand off the handlebar or if you think other participants won’t notice it, you can stretch your left arm and turn it up at the elbow at a 90-degree angle.
While the second approach is the recommended one as it’s easier to spot, many people still prefer the right hand signal bike as it seems more logical.
No matter which one of these cyclist turn signals you choose, just remember to signal it on time - at least 100 feet before the turn itself.
3. Stop
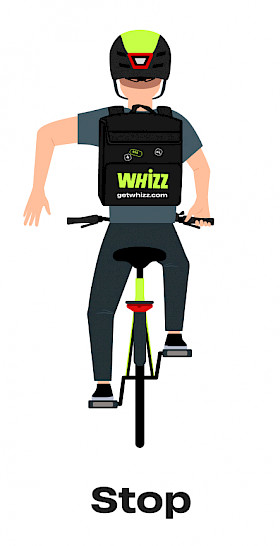

This hand signal is probably the one you’ll use most commonly – considering how bikes don’t have adequate lights that will let others know you’re about to stop.
Fortunately, it’s also very simple, so there won’t be any confusion and ways to misplace it with some other sign.
All you need to do is to stretch your left arm out with your hand open and bend it down at the elbow at a 90-degree angle.
4. Slow Down
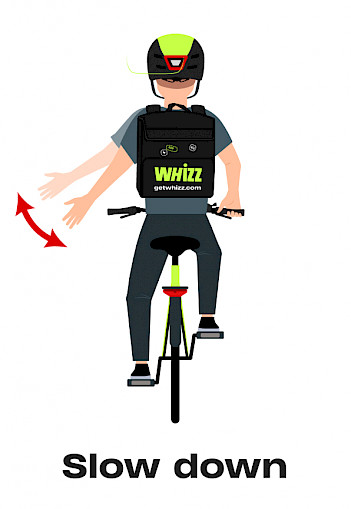

This is a gesture you show once you know you’re about to press the brakes and significantly lower your speed.
Make sure to hold your left arm behind you, allowing other cyclists or drivers to see your hand clearly.
Your palm should face down. Then, move your hand up and down at the wrist. This will let others know you’re slowing down.
5. Give Way
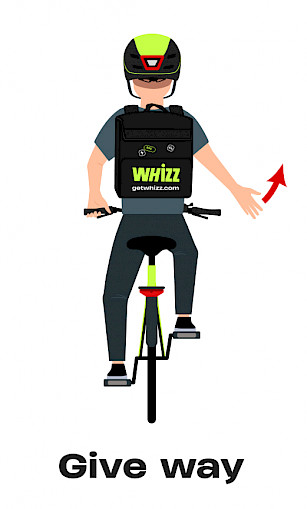
If you wish to let other traffic participants know that they should go ahead and outdrive you, all you need to do is to fan your hand forward.
You can make this gesture with both right and left hand, although the left one is the recommended one, as it’s easier to notice by other cyclists and drivers.
6. Road Hazard
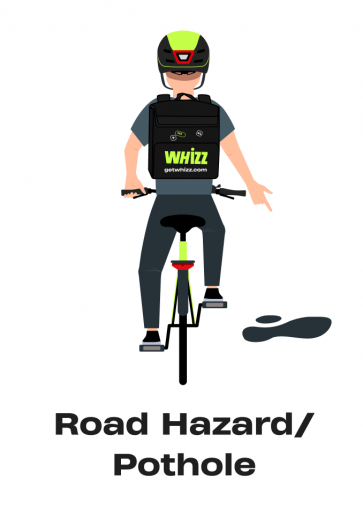
If you’ve noticed a road hazard ahead and would like to warn others of it, extend your arm (once again, you can use your right or left arm), and point it to the floor.
You can also swing your arm in a circling motion while pointing down, as this will make the signal more visible.
7. Loose Sand / Gravel on Road
If there is loose sand or gravel on road, you should extend your hand downwards and then shake it. Use the hand that is closest to the hazard.
You can also point at the gravel, letting other participants know where exactly the hazard is.
8. Overtake

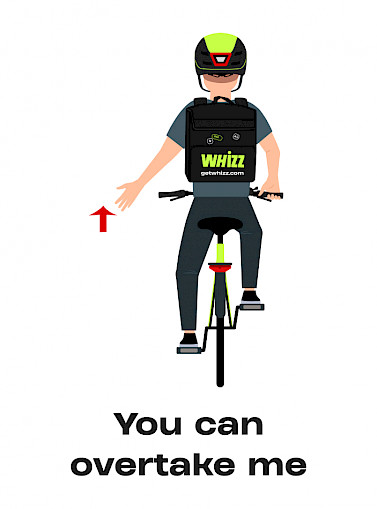
If you want to signal vehicles behind you that they can pass, use this simple gesture: move your hand in an easy manner, and they will understand what to do.
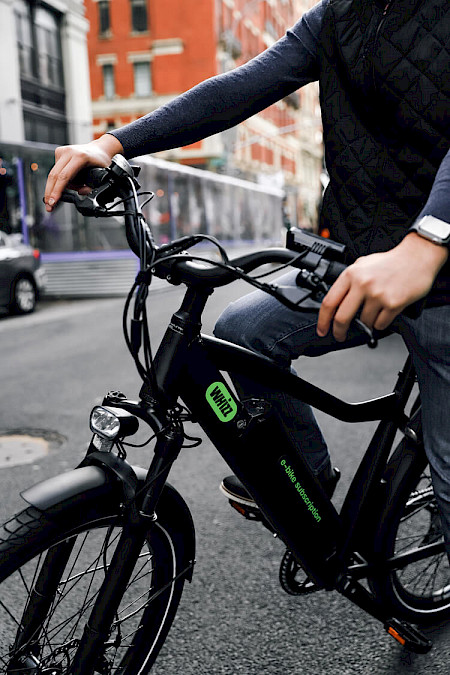
Not all bikers love to use hand signals, as they feel as if they’d lose balance or accidentally hit the accelerator.
While this isn’t an excuse not to use them, it’s always a good option to know whether there are some alternatives that could make communication with other traffic participants easier.
Fortunately, there are plenty of signal flashers that you can attach on your e-bike. They will have the same function as blinkers and signal lights on a car, and they are easy to understand.
You can find lots of brands and products online, or ask your e-bike manufacturer whether they have some they would recommend.
Most of them need to be attached to the bike’s saddle, and you can turn them on and off by a command console attached to the handlebars.
However, it’s important to note that there are some issues with this method.
Most importantly, people aren’t expecting to see signal lights on e-bikes. They won’t look for them, thinking you’ll use bike hand signals instead.
Not only that, but bike saddles are much more narrow than the back of the car.
This means that it can be challenging to determine the side on which the light is blinking, especially from a greater distance.
Related: How to ride an electric bike
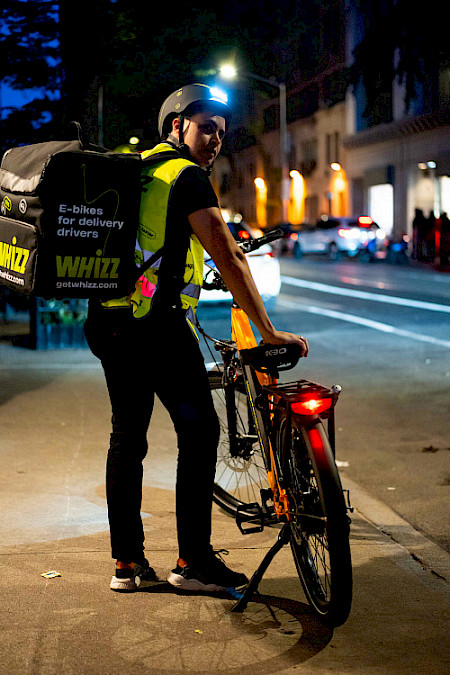
Considering how bike hand signals are the best way of communicating on the road, it’s important to know some tips and tricks about signaling without falling off your bike.
While this might depend on the individual person, here are some general pieces of advice:
Consistency is the key to mastering proper hand signals.
Remember, bike hand signals are one of the ways you can keep yourself safe on the road, which is why they are so important.
Read Also: How Fast Is Electric Bike
References
[1] New York State Assembly, Bicycle Safety and the New York State Helmet Law, April 2013
[2] National Highway Traffic Safety Administration, Bicycle Safety
Schedule a time
to pick up your e-bike
We'll confirm your booking with a phone call.
Get your ride without any hassle –
no SSN required!
Step 1
Reserve your e-bike now
Step 2
Pass the online verification
Step 3
Pick up your bike in NYC or get it delivered
